Win3mu - Part 8 - The Module Loader
This is Part 8 in a series of articles about building Win3mu — a 16-bit Windows 3 emulator. If you’re not sure what this is or why I’m doing it you might like to read from the start.
This post covers module loading — the process of loading .exe and .dll files. You’ve no doubt heard the term “Dynamic Link Library” — that’s what this post is mostly about — dynamic linking.
This post is a little longer and a little more tedious than previous articles because the topic is fairly involved. Bear with me — by the end it’ll all make sense and we’ll have covered everything required to get a simple program running under Win3mu.
The Module Manager
In Win3mu the ModuleManager class is responsible to loading and unloading modules. It supports two kinds of modules both of which derive from a common base class called ModuleBase.
Module16— encapsulates a module loaded from 16-bit .dll or .exe file whose code will run on the emulated CPU.Module32— a module written in C# that emulates a 16-bit module (often by calling the real Windows API).
Modules based on Module32 are created and registered with the module manager during start up:
// Base functionality common to all modules
abstract class ModuleBase
{
}
// Module loaded from 16-bit .exe or .dll
class Module16 : ModuleBase
{
}
// C# emulation of a well known system module
class Module32 : ModuleBase
{
}
// Kernel, User, GDI and others implemented like this...
class Kernel : Module32
{
}
// Machine class represents the entire Win3mu environment
class Machine()
{
public Machine()
{
// Register the standard modules with the module manager
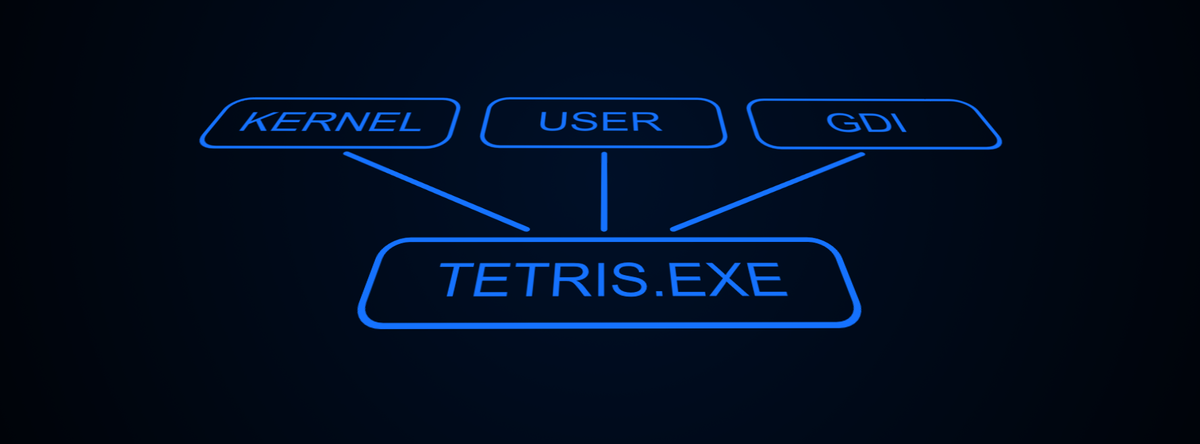
_moduleManager.Register(new Kernel());
_moduleManager.Register(new User());
_moduleManager.Register(new GDI());
}
}
Note: I use the term “32” throughout this project to refer to the host operating system platform. When running on Windows x64 “32” actually refers to 64-bit Windows. This is similar to how Windows API is often referred to Win32 — even though it covers both the x86 and x64 editions.
ModuleBase Class
The ModuleBase class provides an abstract interface to a module and many of these methods are used in the process of loading and linking modules:
public abstract class ModuleBase
{
    public abstract string GetModuleName();
    public abstract string GetModuleFileName();
    public abstract void Load(Machine machine);
    public abstract void Unload(Machine machine);
    public abstract IEnumerable<string> GetReferencedModules();
    public abstract void Link(Machine machine);
    public abstract void Init(Machine machine);
    public abstract void Uninit(Machine machine);
    public abstract ushort GetOrdinalFromName(string functionName);
    public abstract string GetNameFromOrdinal(ushort ordinal);
    public abstract uint GetProcAddress(ushort ordinal);

    public int LoadCount;
    public bool Initialized;
    public ushort hModule;
}
Most of these methods will be described in the following sections.
Locating and Opening the File
The first step in loading a module is to check if it’s already loaded. This is done by module name (rather than filename) and if found its reference count is incremented and nothing else needs to happen.
If it’s not already loaded the next step is to locate the file. For the main .exe file this is already a fully qualified filename supplied on Win3mu’s command line.
Sometimes the running program will use LoadLibrary to load a module with a fully qualified filename, but more typically a plain module name needs to be mapped to a file name. eg: “Win87em”
There’s a search strategy for this but really it’s no more than appending “.dll” and looking in a couple of well defined locations for the file — mainly the same folder as the .exe.
Once the file is located a Module16 is created, passed the filename and Module16 opens the file using the NeFileReader class (as described in a previous post).
// Locate the module (append ".dll" + look in search path)
var locatedModule = LocateModule(fileOrModuleName, parentPath);
if (locatedModule == null)
    throw new VirtualException(string.Format("Can't find module '{0}'", fileOrModuleName));

// Load it
var nativeModule = new Module16(locatedModule);


// elsewhere....

// 16-bit module
class Module16 : ModuleBase
{
    public Module16(string filename)
    {
        _neFile = new NeFileReader(filename);
    }
}
Resolve Referenced Modules
Most modules reference other modules so the next thing to do is make sure they’re available and loaded. The ModuleBase class has a method to return a list of referenced modules:
// Recursively call self (ModuleManager) to load each referenced module
foreach (var m in nativeModule.GetReferencedModules())
{
    LoadModule(m);
}

// elsewhere...

// Module16 implements GetReferencedModules by reading the list from the NE file reader
class Module16 : ModuleBase
{
    public IEnumerable<string> GetReferencedModules()
    {
        return _neFile.ModuleReferenceTable;
    }
}
Note that this will often include modules like Kernel, User etc… these names are automatically mapped to previously registered Module32 implementations.
Load Code and Data Segments
Now that the referenced modules are loaded the module’s code and data segments can be loaded into the global heap. The ModuleManager calls the Module16.Load() method which does the heavy lifting:
For each segment in the NE File:
- Allocate memory from the global heap
- Configure the memory’s selector according to the segment’s flags
- Read the segment from the NE file
public override void Load(Machine machine)
{
    // Load all segments
    for (int i=0; i<_neFile.Segments.Length; i++)
    {
        // Get the segment
        var seg = _neFile.Segments[i];

        // Work out how much memory needed.  For the automatic data segments
        // add the size of the heap and for programs add on the stack size
        uint allocSize = seg.allocationBytes;
        if ((ushort)(i+1) == neHeader.AutoDataSegIndex)
        {
            allocSize += neHeader.InitHeapSize;
            if (!IsDll)
                allocSize += neHeader.InitStackSize;
        }

        // Allocate memory from the global heap
        seg.globalHandle = machine.GlobalHeap.Alloc(0, allocSize);
        if (seg.globalHandle == 0)
            throw new VirtualException("Out of Memory");

        // Configure the selector for "can execute" and "can write"
        seg.globalHandle = machine.GlobalHeap.SetSelectorAttributes(seg.globalHandle,
                        !seg.flags.HasFlag(SegmentFlags.Data),          // can execute?
                        seg.flags.HasFlag(SegmentFlags.ReadOnly)        // read only?
                        );

        // Get the buffer, read the segment from the NE file
        var bytes = machine.GlobalHeap.GetBuffer(seg.globalHandle);
        _neFile.ReadSegment(seg, bytes);
    }
}
For the automatic data segment the amount of memory allocated is increased to make room for the local heap and for the stack.
Unlike the real Windows, Win3mu immediately loads all segments. There’s no segment discarding because it assumes we’ve got plenty of memory available.
Apply Code Relocations
Once all the segments and all referenced modules are loaded the newly loaded modules need to be linked. We’re now getting to the heart of dynamic linking.
The link process starts with the ModuleManager calling the ModuleBase.Link method. Module16 then goes through each segment and applies the relocations which describe both internal code fixups and references to external modules.
public override void Link(Machine machine)
{
    for (int i = 0; i < _neFile.Segments.Count; i++)
    {
        // Get the segment
        var seg = segments[i];

        // Get access to the byte array backing it
        var data = machine.GlobalHeap.GetBuffer(seg.globalHandle);

        // Apply all relocations
        for (int r=0; r<seg.relocations.Length; r++)
        {
            // What happens here depends on the kind of relocation
        }
    }
}
There are several different kinds of relocations but the main two are
- Internal References — which link to another segment in the same module
- Imported Ordinals — which link an exported function in another module:
// InternalReference links to another segment in this module
if (reloc.type == RelocationType.InternalReference)
{
    var targetSegment = segments[reloc.param1 - 1];
    ApplyRelocations(data, reloc.offset, (uint)(targetSegment.globalHandle << 16 | reloc.param2), additive);
}

// ImportedOrdinal links to an entry point in another module
if (reloc.type == RelocationType.ImportedOrdinal)
{
    // Get the proc address
    var moduleName = _neFile.ModuleReferenceTable[reloc.param1 - 1];
    var module = machine.ModuleManager.GetModule(moduleName);
    uint farProc = module.GetProcAddress(reloc.param2);
    if (farProc == 0)
        throw new VirtualException("Module link failed, function ordinal #{0:X4} not found in module '{1}'", reloc.param2, moduleName);

    ApplyRelocations(data, reloc.offset, farProc, additive);
}
Each relocation entry points to the head of a chain of addresses that need to be relocated and the chain is ended with 0xFFFF. Also, relocations can be “additive” in which case the resolved value is added to the value already in the segment (rather than replacing it). Additive relocations aren’t in a chain.
void ApplyRelocations(byte[] data, ushort offset, uint value, bool additive)
{
    if (additive)
    {
        data.WriteDWord(offset, (uint)(data.ReadDWord(offset) + value));
    }
    else
    {
        while (offset != 0xFFFF)
        {
            ushort nextOffset = data.ReadWord(offset);
            data.WriteDWord(offset, value);
            offset = nextOffset;
        }
    }
}
There’s one other class of relocation — “OSFixUp”. These are related to floating point math operations which I’ll cover it in another post.
Patching Exported Functions
Under Windows 3, any functions exported from a module must have a special prolog/epilog that serves two purposes.
- Ensuring that the correct data segment selector is loaded into the
DSregister - Tweaking the
BPregister so that Windows can reliably walk the stack to apply address fix ups when code segments are moved around.
I’m not going to cover stack walking because it’s not relevant however setting up the DS register is crucial.
The DS register points to the module’s data segment and since each module has its own data segment when execution moves between modules the DS register needs to be updated to reference that module’s data segment.
On disk (ie: as generated by the compiler) a function’s prolog looks like this:
; Load AX from DS
PUSH   DS
POP    AX
NOP

; Setup for stack walking
INC    BP
PUSH   BP
MOV    BP,SP

; Save DS
PUSH   DS

; Load DS from AX
MOV    DS,AX
The default behaviour is to load AX from DS and then load DS from AX — ie: DS is left unaffected. For non-exported functions the prolog is left like this so that calls within the module maintain the same value for DS.
When a function is exported from a .exe, the caller must set the AX register to the correct data segment selector before calling. In this case the prolog needs is patched to disable the first few instructions:
; AX already points to DS (zap the old instructions to NOPs)
NOP
NOP
NOP

; the rest of the prolog as before ending with MOV DS, AX
And when a function is exported from a DLL the prolog is patched to explicitly set the AX register:
; Patched to load correct AX
MOV AX,0x1234

; the reset of the prolog as before ending with MOV DS, AX
(You can now see why that extra no-operation (NOP) instructions was required in the original prolog — to reserve room for the longer MOV AX,xxxx instruction.)
These patches are applied in the Module16.Link() method after code relocations are applied:
foreach (var ep in _neFile.GetAllEntryPoints().Where(x=>(x.flags & Win3muCore.NeFile.EntryPoint.FLAG_EXPORTED)!=0))
{
    // Get the segment
    var segment = segments[ep.segmentNumber - 1].globalHandle;
    var data = machine.GlobalHeap.GetBuffer(segment);

    // Shared DS?
    if ((ep.flags & Win3muCore.NeFile.EntryPoint.FLAG_SHAREDDS)!=0)
    {
        // Insert MOV AX,xxxx instruction
        data[ep.segmentOffset] = 0xb8;
        data.WriteWord(ep.segmentOffset + 1, this.DataSelector);
    }
    else
    {
        if (!this.IsDll)
        {
            // NOP out the push ds, pop ax instructions
            data[ep.segmentOffset] = 0x90;        // NOP
            data[ep.segmentOffset+1] = 0x90;      // NOP
        }
    }
}
Call DllMain
The final step in loading a DLL is to call its LibMain. After the module manager has loaded and linked the module it calls ModuleBase.Init() and Module16’s implementation runs LibMain:
public override void Init(Machine machine)
{
    if (IsDll)
    {
        // Save DS
        var saveds = machine.ds;

        // Call Library entry point
        machine.di = hModule;
        machine.ds = DataSegment == null ? (ushort)0 : DataSegment.globalHandle;
        machine.cx = _neFile.Header.InitHeapSize;

        // Find entry point
        var ip = (ushort)(_neFile.Header.EntryPoint & 0xFFFF);
        var cs = _neFile.Segments[(int)((_neFile.Header.EntryPoint >> 16) - 1)].globalHandle;

        // Call it
        machine.FarCall(BitUtils.MakeDWord(ip, cs));

        // Success?
        if (machine.ax==0)
            throw new VirtualException("LibMain failed");

        // Restore DS
        machine.ds = saveds;
    }
}
Finally the module’s all loaded and ready to go!
What About GetProcAddress?
One important thing I skimmed over is the implementation of GetProcAddress — the function that finds the address of an exported function during linking.
Module16’s implementation uses NeFileReader to work out the address of the function:
// Module16's GetProcAddress passes through to NeFileReader.GetProcAddress...
public uint GetProcAddress(ushort ordinal)
{
    // Look up the entry point
    EntryPoint ep;
    if (!_entryPoints.TryGetValue(ordinal, out ep))
        return 0;

    // Constant?
    if (ep.segmentNumber == 0xFE)
        return 0xFFFF0000 | ep.segmentOffset;

    // Valid segment number?
    if (ep.segmentNumber >= _segments.Count)
        return 0;

    // Work out address
    var segment = _segments[ep.segmentNumber - 1];
    return (uint)(segment.globalHandle << 16) | ep.segmentOffset;
}
Module32’s implementation returns the address of a thunk (as described in the previous article) and I’ll show a more concrete example below.
Implementing One Windows API Method
Let’s now have a look at what Module32 does by creating a fake module that 16-bit code can call.
FakeUserDll implements one Windows API method — MessageBox which is exported from the module user.dll as ordinal ID #1.
public class FakeUserDll : ModuleBase
{
    public FakeUserDll()
    {
    }

    // A reference back to the machine
    Machine _machine;

    // Address of the 16-bit MessageBox thunk
    uint _addressMessageBoxThunk;

    // Called by module manager when module loaded
    public override void Init(Machine machine)
    {
        // Save the machine reference
        _machine = machine;

        // Create a thunk in the 16-bit world that will call our C# MessageBox() function
        _addressMessageBoxThunk = machine.CreateSystemThunk(MessageBox, 12, false);
    }

    // The ordinal number of the MessageBox function as exported from the user.dll
    const ushort ORD_MESSAGEBOX = 0x0001;

    // Called by Module16 when linking
    public override uint GetProcAddress(ushort ordinal)
    {
        // Is caller asking for the MessageBox function?
        if (ordinal == ORD_MESSAGEBOX)
            return _addressMessageBoxThunk;

        // Unknown function
        return 0;
    }

    // Import the real MessageBox function from the real Windows (P/Invoke)
    [DllImport("user32.dll", CharSet = CharSet.Auto)]
    public static extern int MessageBox(IntPtr hWnd, string message, string title, int options);

    // Handler for the thunk created in Init.
    // ie: when 16-bit code calls the MessageBox thunk, execution will land here
    void MessageBox()
    {
        // Parameters to 16-bit MessageBox are:
        //   HWND hWnd - 2 byte parent window handle
        //   LPCSTR pszMessage - 4 byte far string pointer to message
        //   LPCSTR pszTitle - 4 byte far string pointer to title
        //   int flags - 2 byte integer flags

        // Read parameters from the VM stack
        ushort hWnd = _machine.ReadWord(_machine.ss, (ushort)(_machine.ss + 4));
        uint pszMessage = _machine.ReadDWord(_machine.ss, (ushort)(_machine.ss + 6));
        uint pszTitle = _machine.ReadDWord(_machine.ss, (ushort)(_machine.ss + 10));
        ushort flags = _machine.ReadWord(_machine.ss, (ushort)(_machine.ss + 14));

        // Only null parent windows are supported atm
        if (hWnd != 0)
            throw new VirtualException("No window handle mapping yet");

        // Read the strings from the VM memory
        string strMessage = _machine.ReadString(pszMessage);
        string strTitle = _machine.ReadString(pszTitle);

        // Call the real deal
        int retv = MessageBox(IntPtr.Zero, strMessage, strTitle, (int)flags);

        // Setup the return value
        _machine.ax = (ushort)(short)retv;
    }
}
Things to note:
- Its
Init()method callsmachine.CreateSystemThunkto create a thunk that when called from 16-bit code will invoke theFakeUserDll.MessageBox()function GetProcAddressreturns the address of the thunk when asked for ordinal #1- The
MessageBoxmethod reads parameters from the VM stack/memory, calls the real WindowsMessageBoxfunction and setsAXto the return value. - The first parameter is at
SS:SP+4because the return address of the caller will have been pushed after the parameters.
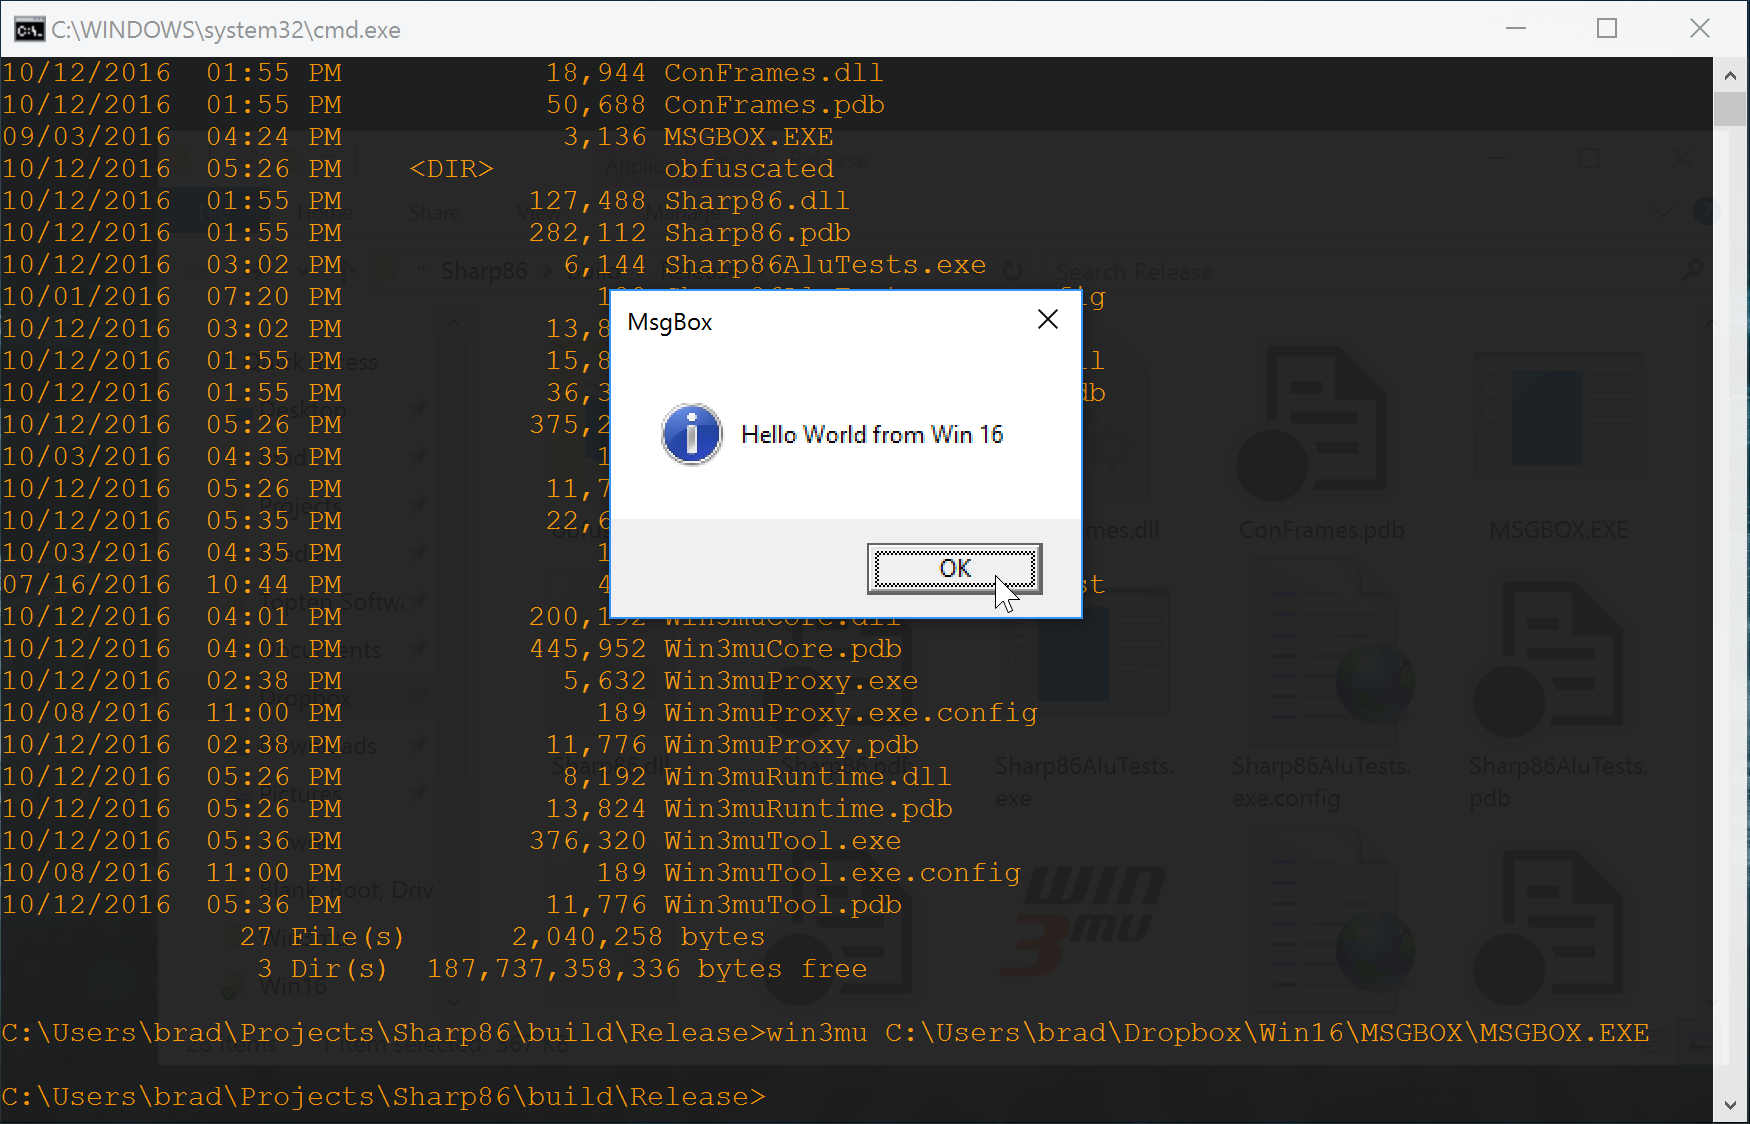
First Win3mu Run!
We’ve now covered just about everything required for Win3mu’s first run. In fact its first run was exactly what I’ve described — a simple .exe that calls MessageBox:
- I built it in Windows 98 with Visual C++ 1.5
- Copied it to my main dev machine
- Ran it under Win3mu
- Debugged it, debugged it, debugged it some more
- Got a message box!
Phew! It’s been a long process to get here but that’s really the bare minimum to getting a 16-bit Windows program running under emulation.
The main things that I haven’t covered are just some miscellaneous startup trivia — setting the correct registers for calling the .exe and one other function “InitTask” which doesn’t do anything too interesting.
Next Steps
The Windows API consists of about 1,100 API methods. If I have to write code like the MessageBox example above for every one I’m going to go insane! The next step is to reduce the amount of code required for each method to an absolute minimum — and in many cases no code at all.
For the next article I’m going to cover off some miscellaneous topics like path mapping, config files and how I tracked down some subtle bugs in the processor that slipped through unit testing.