Win3mu - Part 2 - Initial Design Thoughts on Building a Windows 3 Emulator
This is Part 2 in a series of articles about building Win3mu — a Windows 3 emulator. In Part 1 I explained my (ir)rationale for starting this project. This post covers some initial thoughts on how to build it.
A Little Background
As mentioned I’ve previously written two other emulators. Since I’ll be referring to them occasionally here’s a little background:
Both were Microbee emulators – FPGABee and iMicrobee. The Microbee was an Australian built Z-80 based home computer from the 80s. As a teenager I wrote and sold games for it through the company who produced it.
FPGABee is a hardware implementation using an FPGA and written in VHDL. You can read more about that project here.
iMicrobee is written in C# and while I never released it, I did have it running on Windows and iOS.

Write it in C#
This is a no brainer — iMicrobee was written in C# and was a joy to work on.
I could certainly squeeze more performance from C/C++ but this is supposed to be a fun learning project. C# provides so many benefits and its excellent interop capabilities mean that calling the Windows API directly is not a problem.
For example, the entire user-interface for my music software Cantabile is written in C# and uses P/Invokes to directly call the Windows API.
P/Invoke is certainly up to the job.
One thing I really plan to leverage from C# is reflection with custom attributes to define how calls from the 16-bit code are mapped to implementation functions. Once it’s all working I’ll probably replace the reflection code with dynamically generated methods since reflection can be slow.
However…
Don’t Obsess Over Performance
For most emulators performance is a critical factor. For this project, not so much. Windows programs typically don’t burn CPU like a DOS game and the performance of today’s PCs far exceeds the machines I’m trying to emulate.
The challenge here is just getting it to work. When it comes to simplicity vs performance, simplicity will win out. I can always performance tune later if necessary.
Build Only What’s Necessary
Rebuilding the entire Window API is a daunting prospect so I won’t be doing that. I’ll be building just the bits I need when I need them.
I’m not expecting to run MS Office, development tools or utility programs nor does it need to support custom drivers or anything else too complicated. A basic Window’s API should suffice for most of these games.
Also, I’ll be aiming for “just make it work” and not “match every nuance of the real thing”.
Reference Material
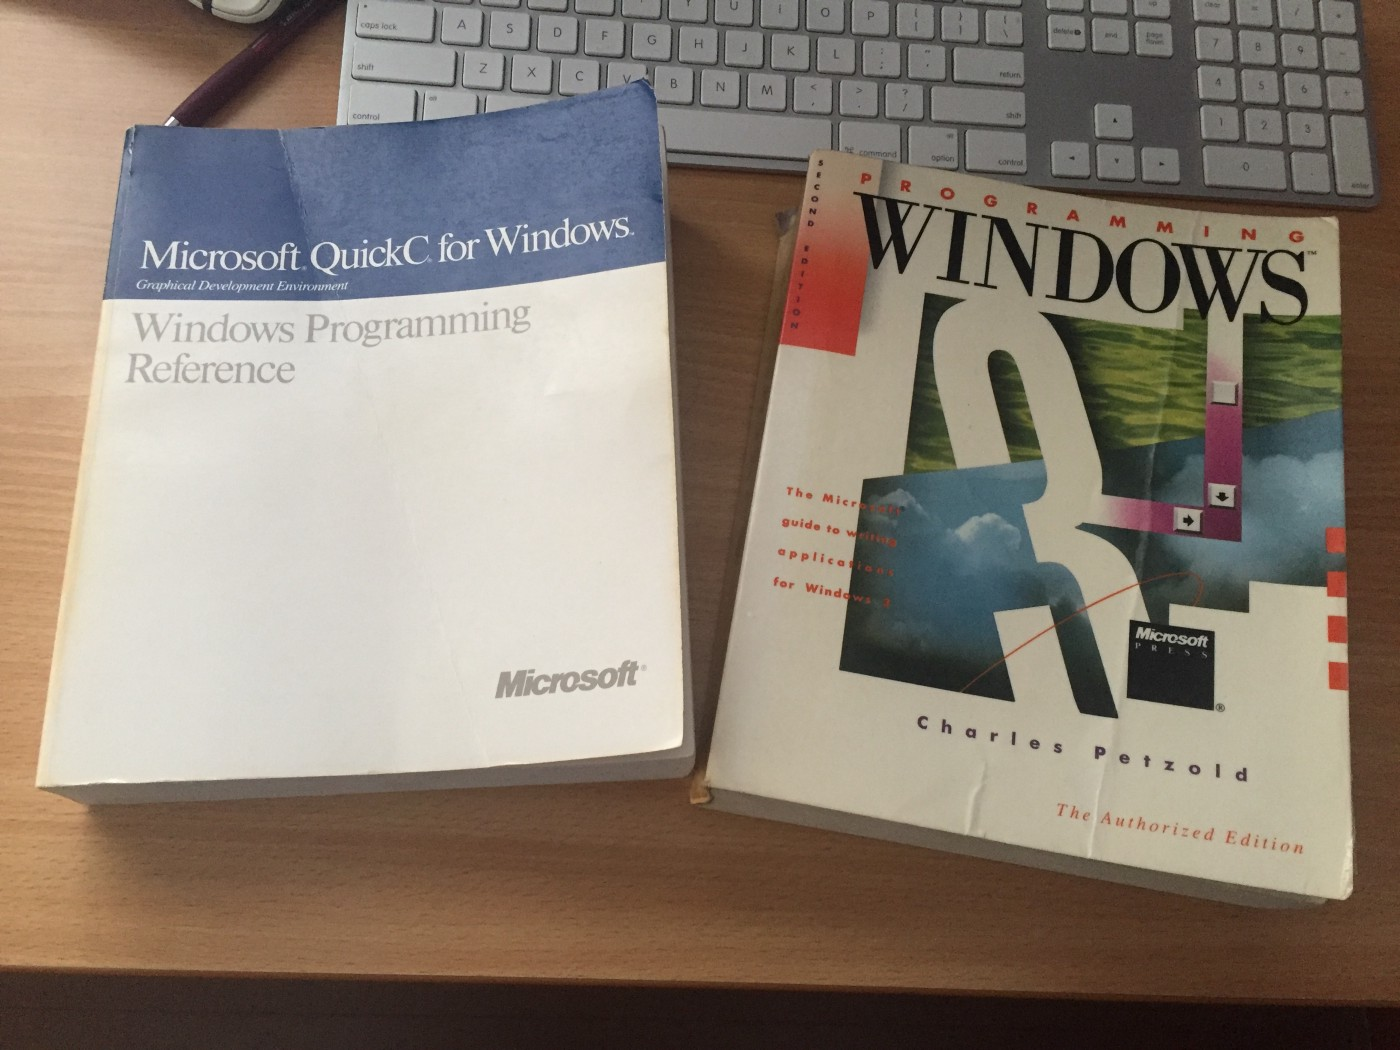
One thing I noticed when I started looking up details on these old API’s is there’s not much information online — it’s all been superseded by 32/64-bit documentation.
So I’ve unpacked some boxes from the garage and found:
- My original copy of Charles Petzold’s Programming Windows 3.
- A copy of the Windows 3 Programming Reference.
- A copy of Visual C++ 1.52, Quick C for Windows 2 and various DOS and Windows floppies.
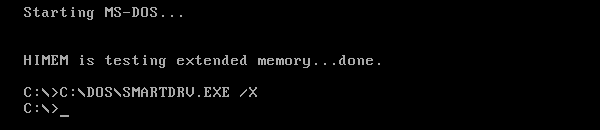
I’ve also setup a couple of different VM’s with DOS, Windows 3, Windows 98 and XP so I can build and debug some test program to check out things as I go.
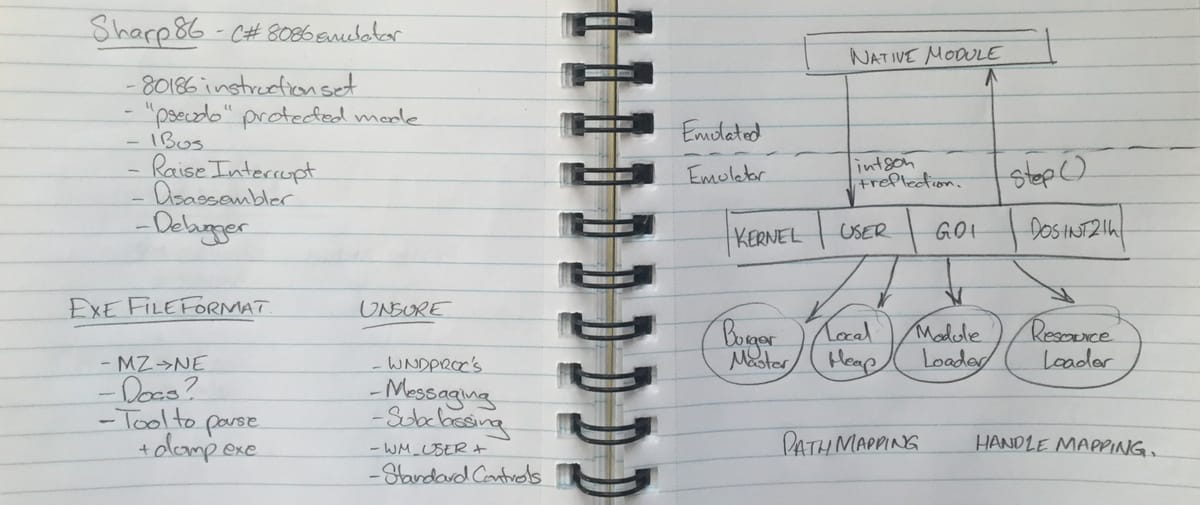
It’ll Need a CPU
For iMicrobee I ported an existing Z-80 emulation from C to C#. This time I want to do it all myself. I’ll be targeting the 80186 instruction set but it’ll be running in a kind of pseudo-protected mode like a 286. More on this later.
Since you can’t do much without the CPU this will be the obvious starting point.
Decoding The NE File Format
Once the CPU is up and running I’ll need to be able to load some code to run.
16-bit Windows programs use the now misnamed “New Executable Format” aka “NE” files. I’ve found some documentation but it’s not complete so some experimentation is on the cards. In the end it’ll need to handle all the gory details — headers, code and data segments, code relocations, resources etc…
The Windows Holy Trinity
If you’ve ever programmed for Windows, you’ll be familiar with its three main modules: Kernel, User and GDI. This is where the bulk of the work lies.
- Kernel — all the memory management related aspects will need to be built from scratch. It will need to implement both global and local heap functions, module loading and everything else memory related. Other functions like file access will mostly just map through to the host operating system.
- User — this is the module responsible for window management, user input, standard controls etc… Without doubt this is going to be the hardest part of the entire project since it involves a lot of two-way communication and a complex set of messages — many of which will need special handling.
- GDI — “Graphics Device Interface” is the API for drawing to the screen. I’m hoping this should mostly just involve converting parameters from 16 to 32/64 bit equivalents and calling the matching function in the real Windows API.
There’s a few other ancillary modules that’ll be needed too like KEYBOARD.DRV for reading key states and MMSYSTEM.DLL for playing sounds.
Don’t Forget DOS
It’s been so long since I wrote 16-bit Windows code that initially I forgot about DOS.
Many 16-bit Windows programs use the infamous Int 21h for file access and other environment related functions so they’ll need to be implemented too.
I used to have a copy of Ray Duncan’s Advanced MS-DOS Programming but I couldn’t find it (I think I donated it to the local library). Never-the-less I’ve found enough documentation online for this.
A 16-bit Debugger
iMicrobee has a debugger for the Z-80 code. It was a simple command driven tool (a bit like gdb) and gave the ability to look at the system from the emulated side as opposed to the emulating side.
I can probably get away without it for this project but suspect it will be extremely useful. Besides I’d like to do a better job than the last one I wrote.
Have you ever tried debugging a debugger that’s debugging code running on an emulated CPU that’s running under a debugger? For added fun, make sure the keys for step into, step out and step over are different in each debugger.
Path Mapping
Remember 8.3 filenames?
I’m not going to provide support for long file names. I’m might not even support the short versions of long file name. Also I’m going to sandbox the entire 16-bit program to a virtual file system with paths mapped to specific directories on the host machine.
Also, since Windows 3 didn’t have a concept of per-user folders, I’d like to provide support for separate read/write folders so the 16-bit programs can be stored in the Program Files directory and saved files (eg: high-score files etc…) can be written somewhere user specific.
Shell Integration
Initially a 16-bit program will be launched by passing the .exe file as a command line parameter to the emulator. Later it would be nice if this was a little more integrated with Windows Explorer.

Since it would be uncool to create file associations for “.exe” I was thinking of renaming the 16-bit programs to .exe16, registering a file association and perhaps also a shell extension to render their icons.
Yikes!
Listing everything out like that you can see there’s a fair bit involved in getting this to work. At least I can break it down and do it bit by bit.
And the first bit will be the CPU which will be the topic for Part 3.