Setting Up a Complete Xilinx ISE 14.7 Development Environment
The Xilinx Spartan 6 is a popular FPGA used in many development boards like the Mimas V2, the Papilio Duo and many others. It's been around for about 10 years and Xilinx has committed to making the chip available for at least another 10 years.
Unfortunately setting up a development environment for the Spartan 6 isn't a straight-forward process. This guide, along with setup script I've written aim to make this a little easier - and as a bonus it can also optionally install and configure a range of other handy programs and utilities that'll help with your FPGA development process.
Linux is the Only Real Option
The first thing I'll suggest is that Linux is the only real option here. The latest version of the Xilinx development tools don't support the Spartan 6 and earlier FPGAs so you need to use the prior version those tools - ISE 14.7 and that only works on Linux and older versions of Windows.
Xilinx do have what they call their Windows 10 version of ISE, but it's just a virtual Linux machine with ISE pre-installed on it.
My recommendation here is to setup a dedicated VM specifically for Xilinx development. It keeps everything contained and separate from the rest of your work and with the script I'll be describing in this post it really is very easy to setup - despite the apparently long list of steps.
Also, even if you do get ISE running on Windows, I find that GHDL/GtkWave and some other tools work better under Linux anyway.
What You'll Get
Besides ISE there's a few other tools that you'll need and/or want for your FPGA development environment. The script can optionally install:
- ISE 14.7 - the Xilinx development tool-chain and IDE
- Visual Studio Code - my current favorite text editor and build environment
- xilt - my Xilinx command line tools that make it easy to build Xilinx FPGA programs from make files.
- Git - version control software
- GHDL - open source VHDL simulator
- GtkWave - open source wave viewer
- mphidflash - for flashing the firmware on various boards
- Papilio Loader - for uploading designs Papilio boards
- MimasV2 Loader - for uploading designs to Mimas V2 boards
- Opera - an easy to install Chromium based alternative to Google Chrome/Chromium
- A bunch of common Linux command line tools like
curl,screen,minicomandpythonand Python libraries for serial communications (handy for programming and communicating with FPGA boards). - VirtualBox Guest Additions (if running in a VirtualBox VM)
- All the latest system updates to your Linux installation
Creating the Virtual Machine
The first step is to create the virtual machine. I've been using Xubuntu 19.04 hosted in the VirtualBox 6.1 with no real issues and is what I recommend. I like Xubuntu because it runs a bit leaner than the full Ubuntu and is better for use in a VM. You can probably use the same script with other Ubuntu based distributions but I haven't tested it.
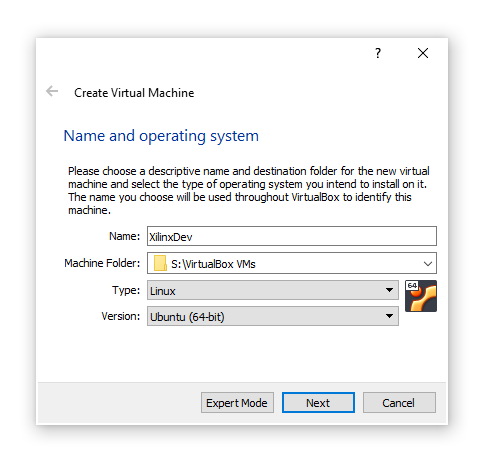
Start by downloading and installing VirtualBox (if you don't already have it) then create a new VM. These are the settings I use:
- Type: Linux / Ubuntu (64-bit)
- 2048MB RAM (at least, more if you can spare it)
- 128GB Dynamically Allocated Hard Disk
- 2 CPUs (at least, more if you have them)
- 3D Acceleration: Off (if enabled you'll have issues with VS Code crashing the entire VM)
- USB 3.0 (xHCI) Controller (serial communications don't work great with the default EHCI controller selection)
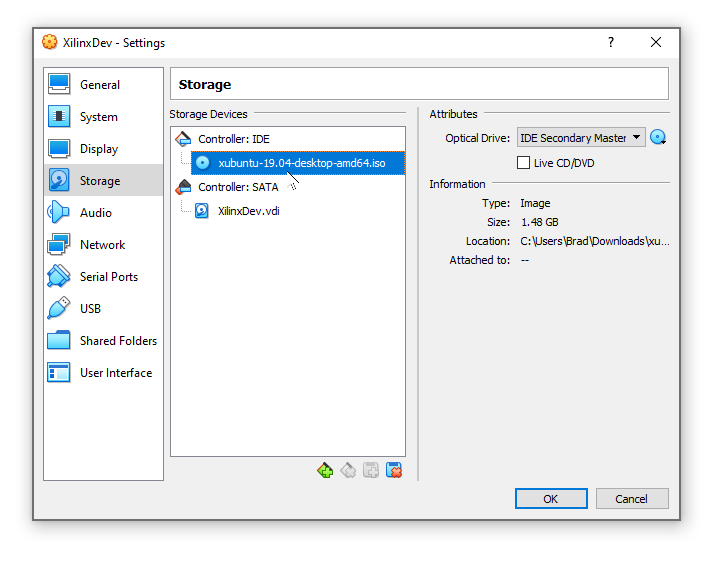
Download the Xubuntu ISO image, mount it in the Storage settings page and start the machine.
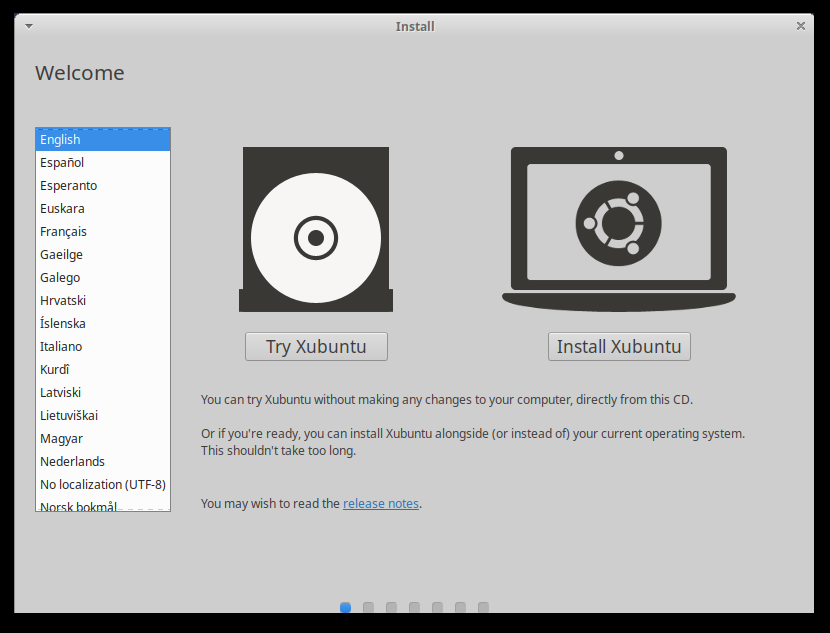
When it boots, choose "Install Xubuntu" and follow the installation guide - there's nothing special to be configured here.
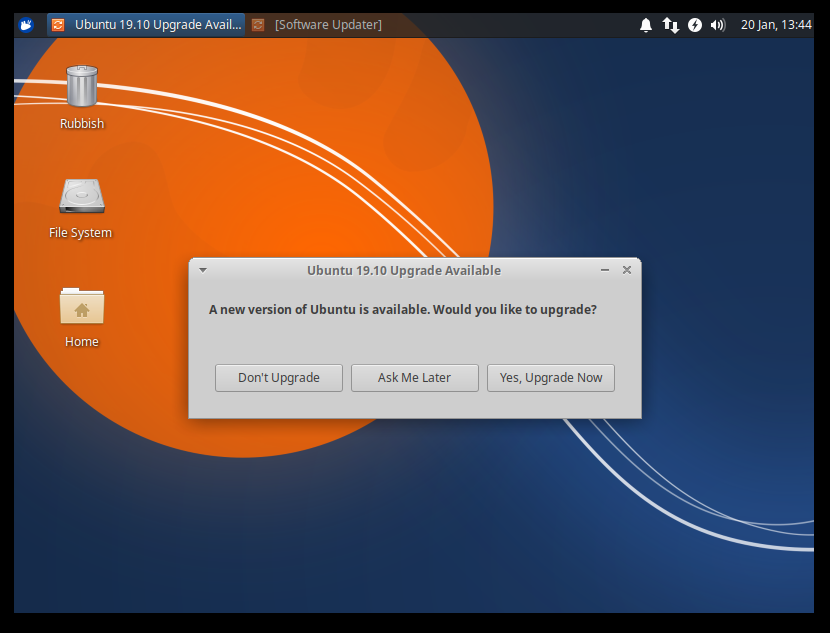
When the installation finishes, it'll prompt to reboot after which you can login and you'll probably be prompted that an upgrade is available. Choose "Don't Upgrade" otherwise you'll have to wait for it to finish before running the setup script - which does the upgrade anyway.
xilsetup - Part 1
xilsetup is the script I've written that's going to install and configure everything for you. Bring up a terminal (either from the menu at top left, or press WindowsKey+T) and run the following commands:
$ wget https://bitbucket.org/toptensoftware/xilsetup/raw/master/xilsetup
$ chmod +x xilsetup
$ sudo ./xilsetup --step1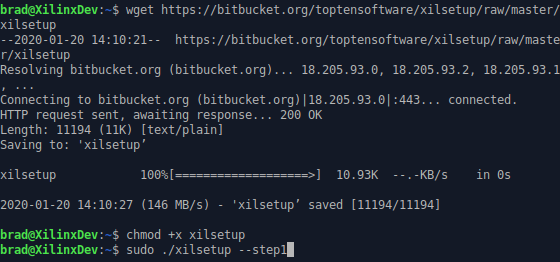
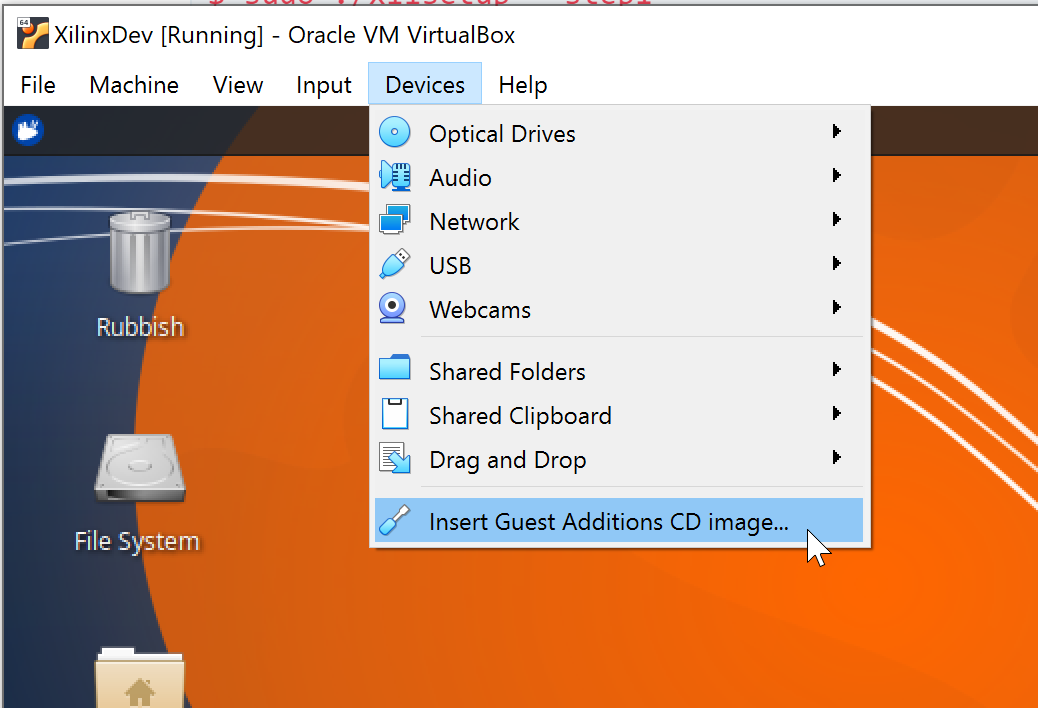
You'll probably be asked to insert the VirtualBox Guest Additions CD - this is available in the VirtualBox Devices menu. Wait for it to mount and you'll see a window appear showing its content, just close it and hit a key to resume the script.

The setup script will now install system updates, the guest additions and some other common tools and then prompt to reboot.
xilsetup - Part 2
After rebooting, run step 2 like so:
$ sudo ./xilsetup --step2If there's anything from the list above you don't want installed, there will be a command line switch to exclude it. Run ./xilsetup --help for a list.
I've found recent updates to Opera don't run great under Xubuntu so you can exclude it like so: sudo ./xilsetup --step2 --no-opera.
You'll be prompted for a Git user name and email address. These are optional will set those settings in your git config file. Leave them blank if you don't care about this.
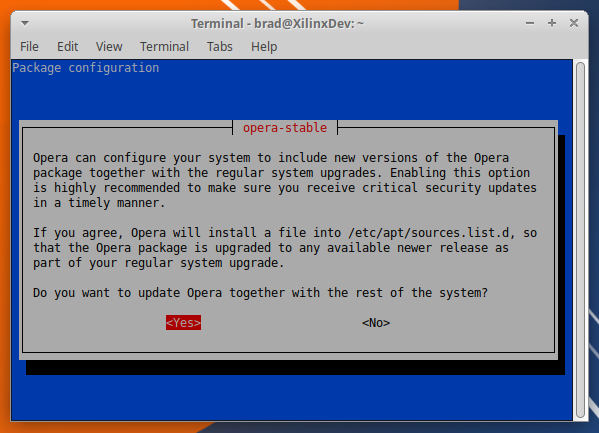
Unless you manually excludes Opera, part way through you'll be prompted about updates... just click Yes.
When it gets to the point where it wants to install ISE, you need to manually download it yourself (the script can't automatically download it because you need to be logged in). Choose Yes to go to the download page, login or create account if you need to and download the installer.
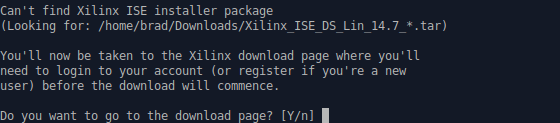
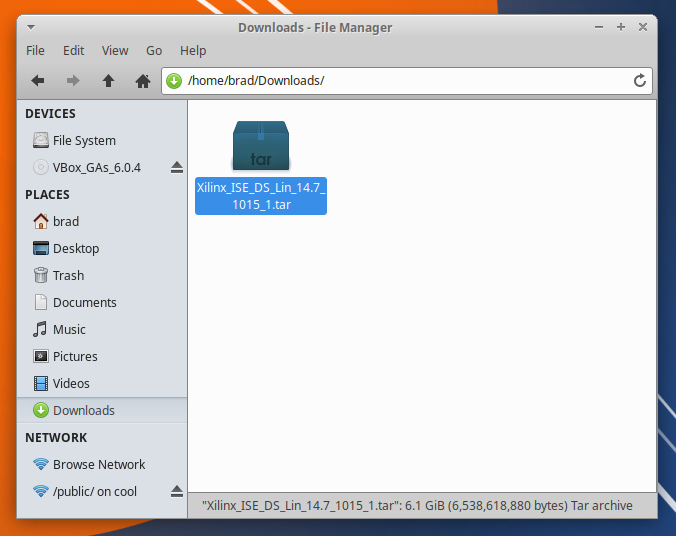
If you've already have the installer downloaded you can just copy it to your ~/Downloads folder and the script will pick it up from there. The file that's needed is Xilinx_ISE_DS_Lin_14.7_1015_1.tar.
Switch back to the terminal running the script and press Enter to launch the ISE installer.
Installing ISE
The script will now unpack and launch the ISE installer.
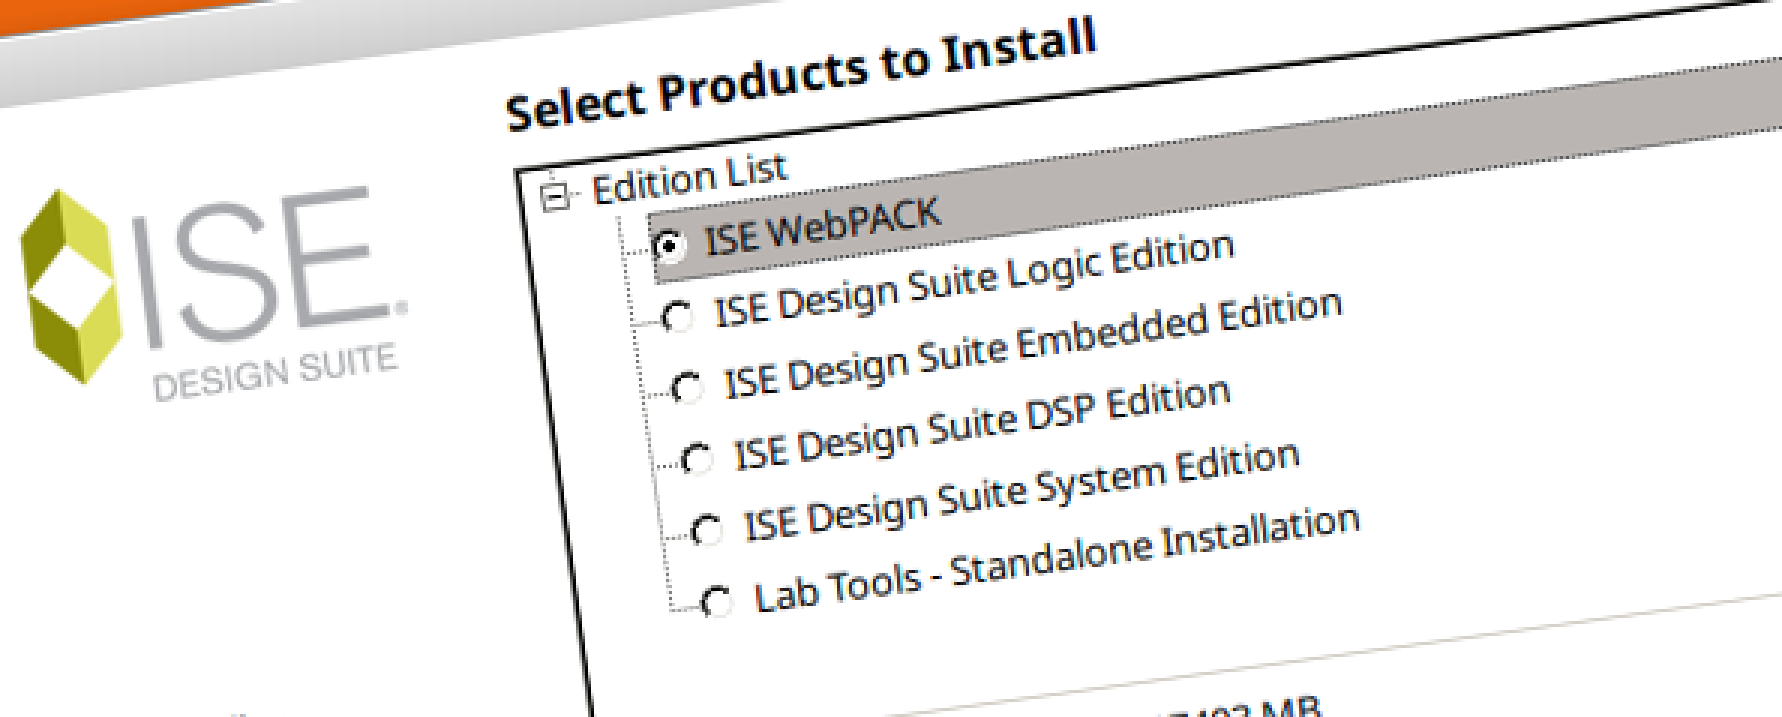
The only real option you need to choose is on the "Select Products to Install" page. If you're not sure, choose "ISE WebPACK":
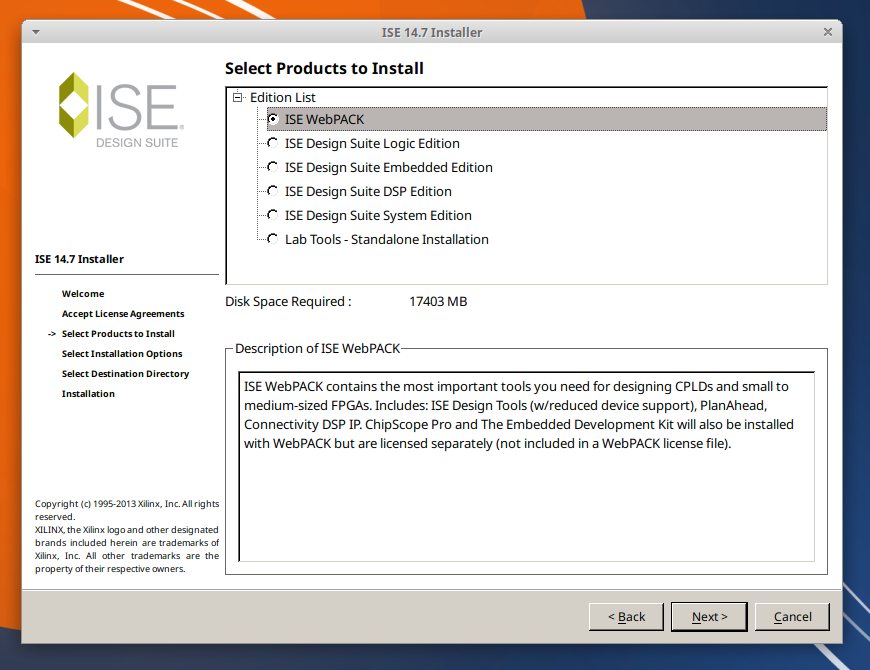
Step through all the other options and then wait for ISE to install.
Once it's finished, return to the script terminal where you'll be prompted to launch the Xilinx license manager. Follow that process to obtain and install your license.

Again, if you're not sure choose "Free Vivado/ISE WebPack License":

Once your license is installed, reboot and you'll be ready to go.
Testing Everything Works
The first thing you might like to check is that you can actually launch ISE. Normally you'd need to configure paths and mess around, but xilt can do it for you:
$ xilt ise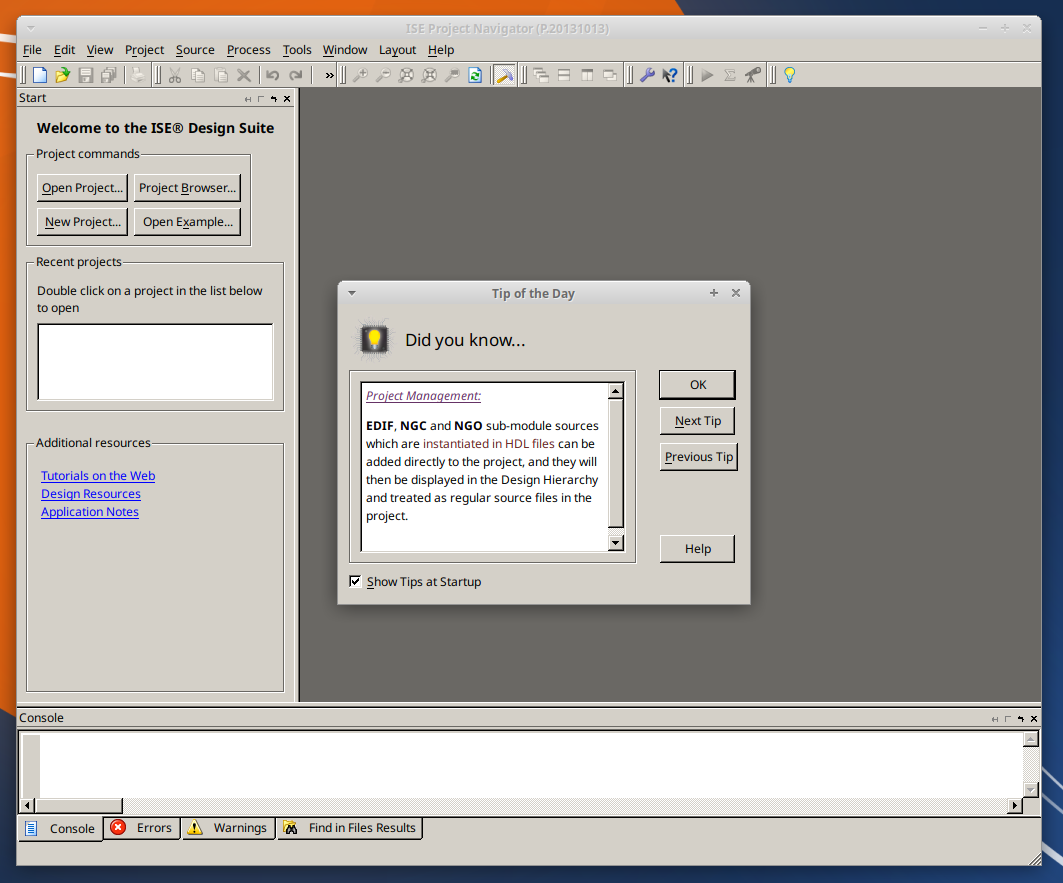
You can also launch the Xilinx license manager with xilt xlcm and the Xilinx Core Generator with xilt coregen .
Next, use git to download my fpgakit project to build and run a simulation using GHDL and view it with GtkWave:
$ mkdir Projects
$ cd Projects
$ git clone https://github.com/toptensoftware/fpgakit.git
$ cd fpgakit/sims/07-reflector-rx
$ make view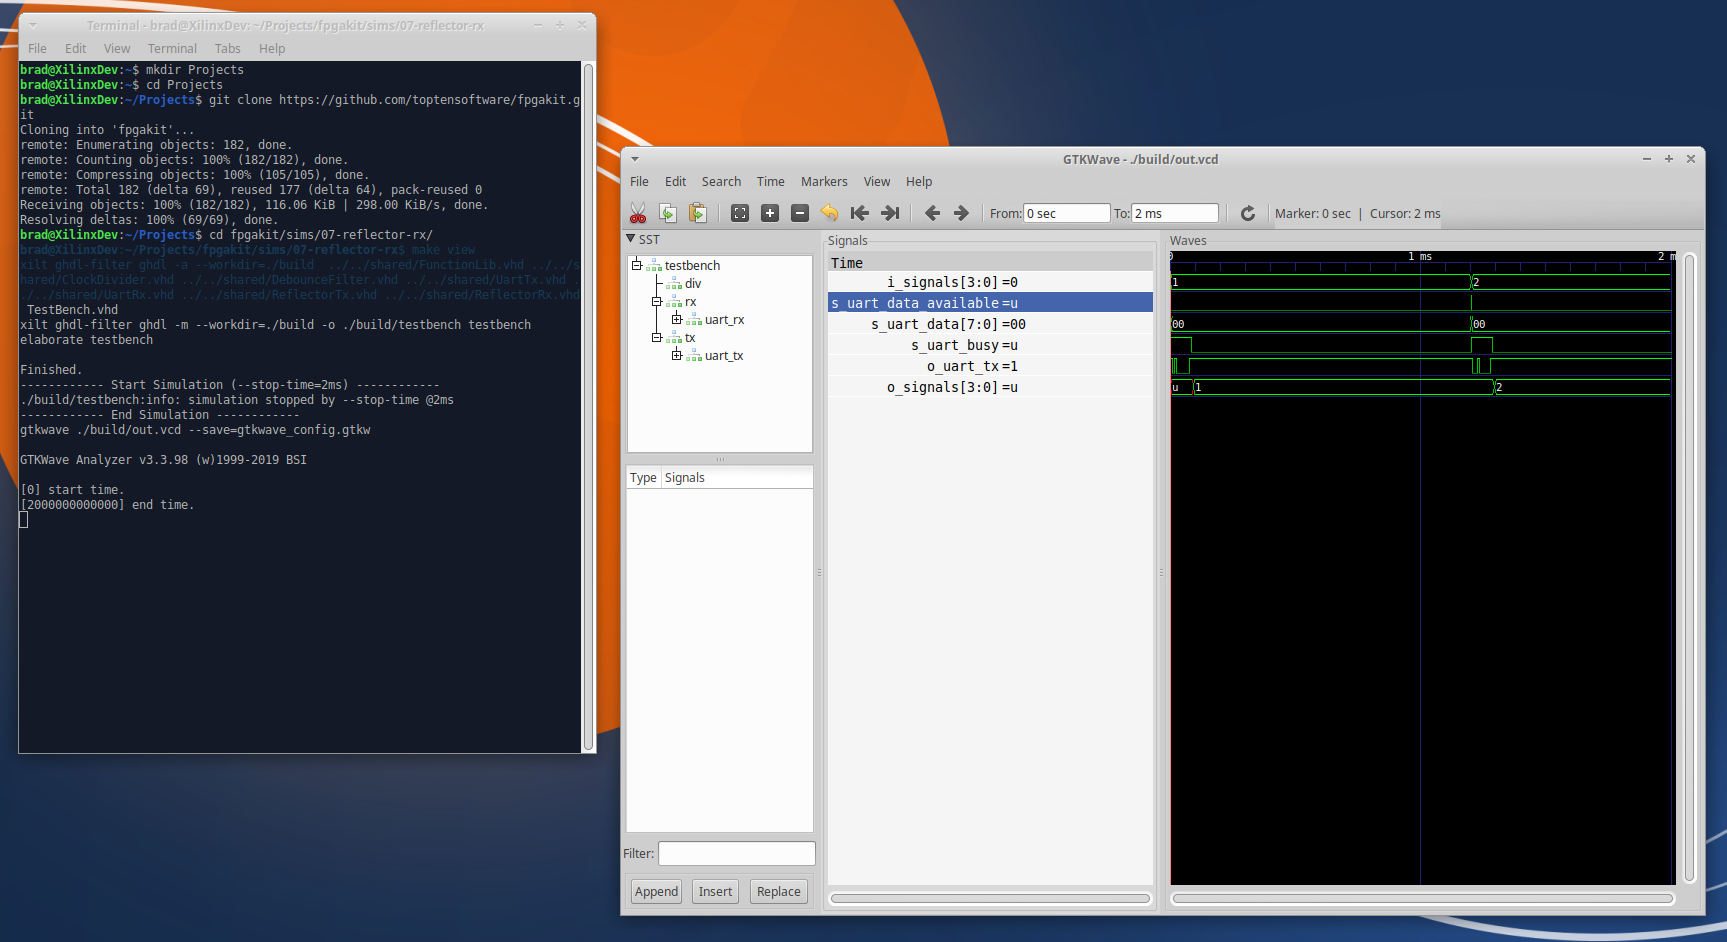
Now lets build a Xilinx FPGA project:
$ cd ~/Projects/
$ cd fpgakit/boards/mimasv2/01-switches-leds
$ make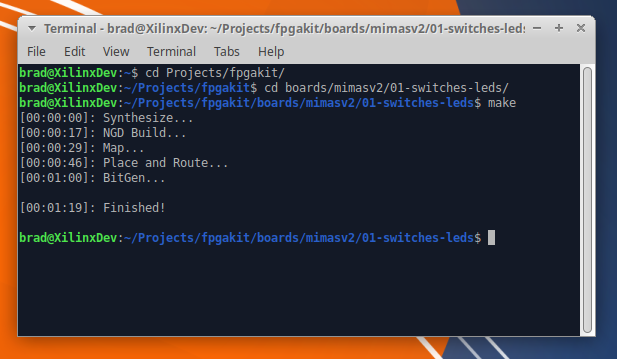
You can also build projects in VS Code. First launch VS Code...
$ cd ~/Projects/
$ cd fpgakit/boards/mimasv2/01-switches-leds
$ code workspace.code-workspace
and then press Ctrl+Shift+B to build the project.
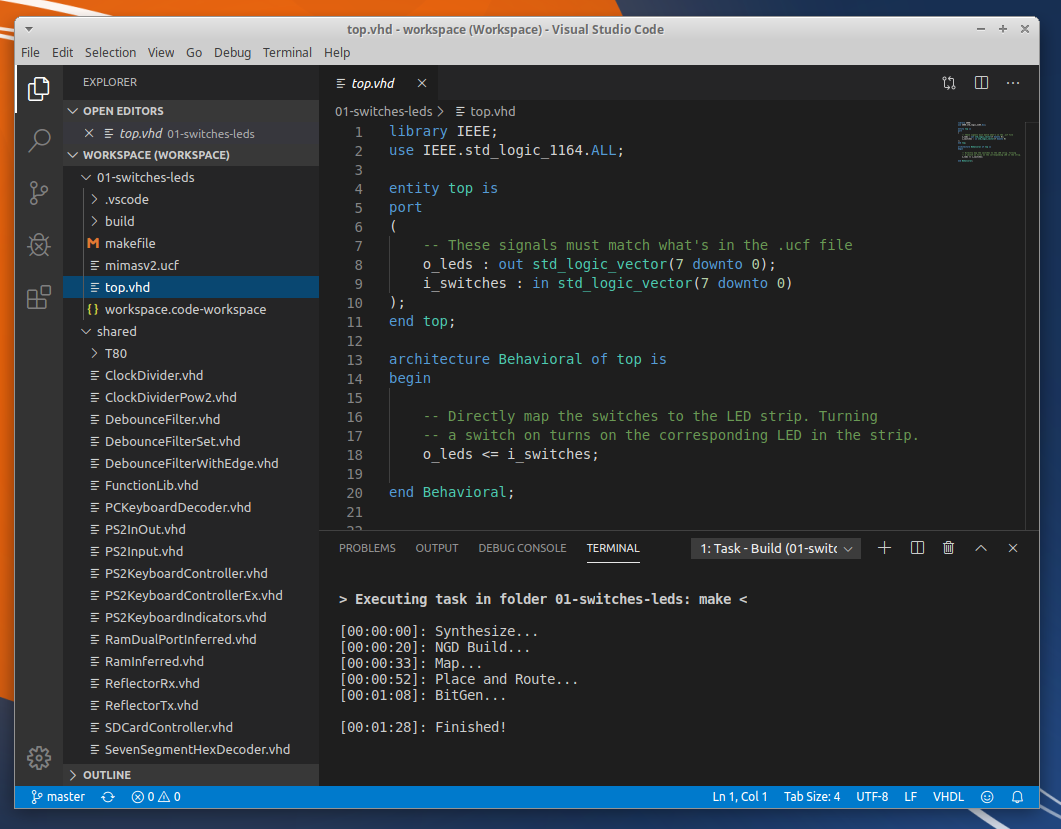
If you've got a Mimas V2 board you can upload the design to it with make upload (from a terminal) or from within VS Code by choosing "Run Task" from the "Terminal" window and choosing "Run".

You're All Set
That's it! You're now all setup with a complete Xilinx development environment and a bunch of handy tools to go along with it.
As you can tell from building the example projects I use VS Code and makefiles in preference to the Xilinx ISE. To make this easier I've written a tool called xilt that assists with all this... but that's for another post (or you can read more about it here)
What do you think? Let me know on Twitter.