Rendering Markdown Pages with Express and Los Angeles
Los Angeles is a simple, easy to use but flexible Markdown page server for Express. This post shows how to integrate Los Angeles into an Express app and be up and running with Markdown pages in just a few minutes.

Node and Express are great for building dynamic websites but often you'll also have some static content too. While its reasonably easy to author these pages in straight HTML a better option for this kind of content is often Markdown.
Los Angeles is a simple, easy to use but flexible Markdown page server for Express.
This post shows how to integrate Los Angeles into an Express app and be up and running with Markdown pages in just a few minutes.
Background
First a little background... I've been using Los Angeles to serve static Markdown content pages in a number of websites for several years now. Recently I cleaned it up, documented it and published it to NPM as an open source project.
(If you're wondering about the name, it came out of a habit of naming Node projects after synth-wave songs. This project is named after one of my favourites: Los Angeles by The Midnight).
Setup
You might already have an existing Express app that you want to add Markdown support to, but for this walk-through example I'm going to generate an app from scratch.
Let's start by installing the Express generator, generating a new app called "TestLA" and installing the dependent packages:
> npm install -g express-generator
> express --hbs --css less --git TestLA
> cd TestLA
> npm install
Next, install the Los Angeles package:
npm install --save @toptensoftware/losangeles
We now need to integrate the Los Angeles middle-ware into the Express app. Open the file "app.js" and make the following changes. First, at the top of the file, import the Los Angeles component:
const la = require('@toptensoftware/losangeles');
Next, look for the line app.use(express.static(...)) and on the line after add the following. This tells Los Angeles to serve Markdown pages found in the "public" sub-folder.
app.use(la.serve({
  contentPath: path.join(__dirname, 'public')
}).middleware);
Finally, we'll need an Express view to render the Markdown page. In the "views" sub-folder, create a file "page.hbs" like so:
<h1>{{title}}</h1>
{{{body}}}
That's it! You're now ready to start writing Markdown content pages.
Creating the First Page
Lets create a sub-directory on the site called "guides" that contains the user-guide for this imaginary example web site. In the "public" folder, create a sub-folder called "guides" and in that folder, create a new file called "index.md":
---
title: User Guide
---
Welcome to the user guides.

* Apples
* Pears
* Bananas
Now with the app running, visit the page http://localhost:3000/guides in a browser to see the result.
(If you're new to Node/Express, you can start the server by running npm start in the project directory).
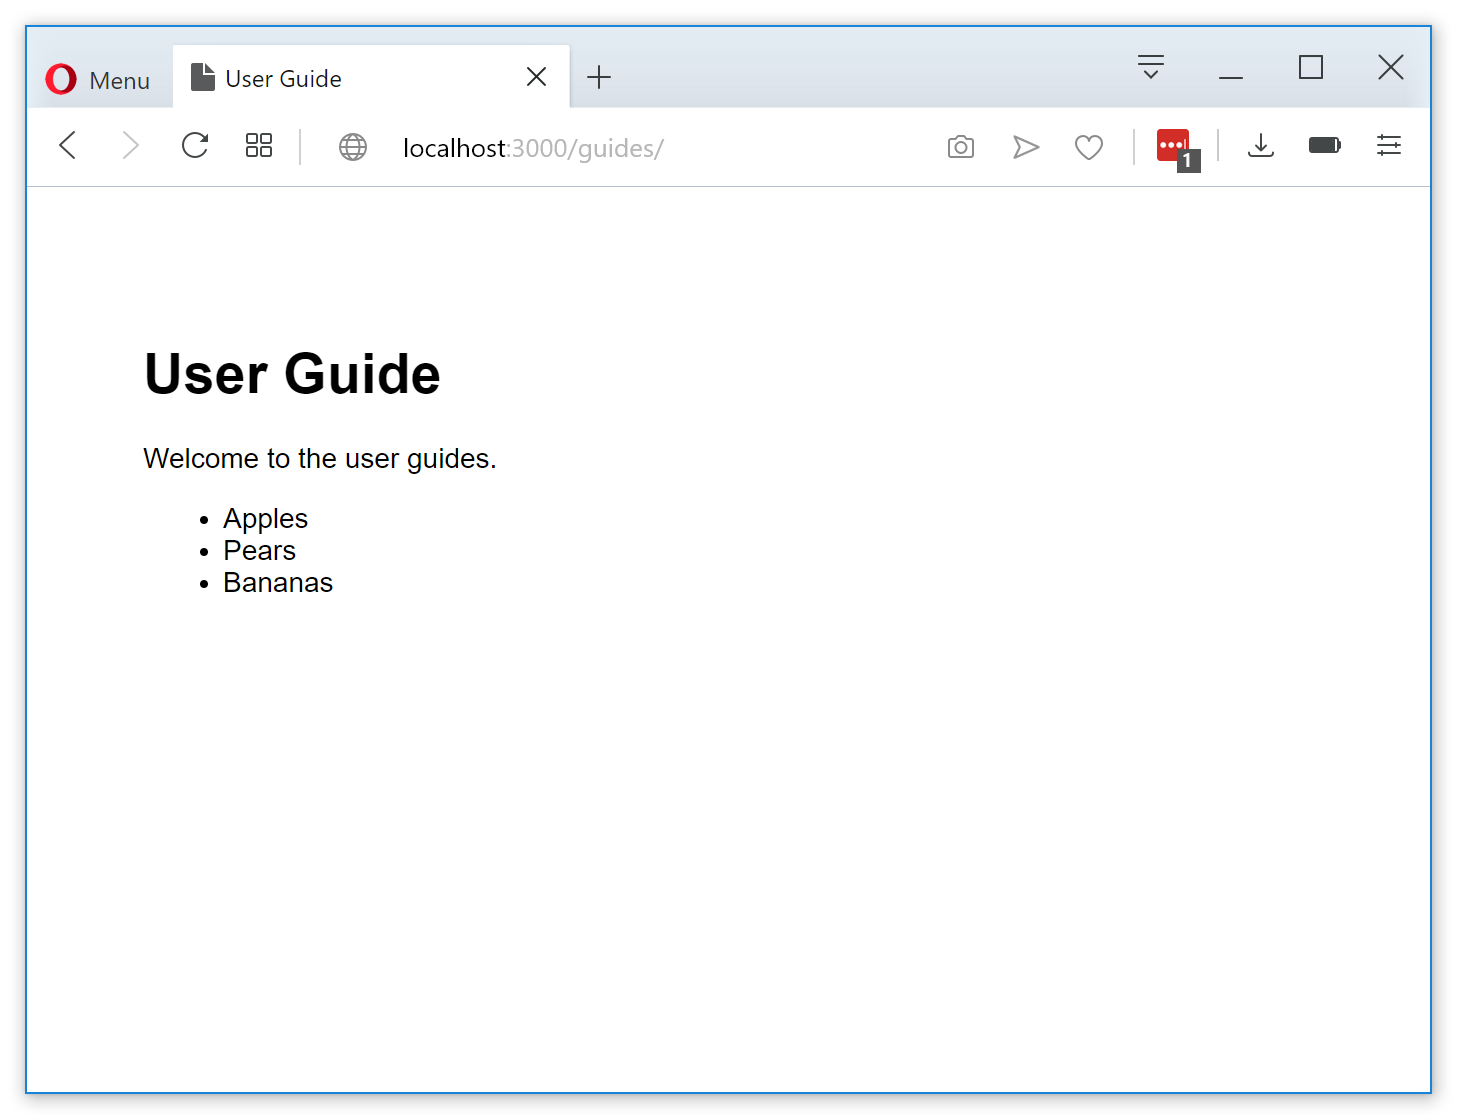
A couple of things to note about the above:
- The file "index.md" is automatically used if the requested URL is a directory.
- The title setting in the ".md" file is reflected in the title tab of the page.
- The Markdown has been rendered correctly.
Other Pages
Obviously you're going to want additional pages besides index pages.
Create a second page in the guides folder called say "gettingStarted.md", add some Markdown content and check it works by visiting http://localhost:3000/guides/gettingStarted.
YAML Front Matter
If you were paying attention to the above you would have noticed that the "index.md" file we created above isn't strictly just Markdown.
The section at the top delimited by the three dash delimiters is called the page's "front-matter" and specifies additional metadata about the page in YAML format.
The front-matter is used for two purposes:
- Special settings that control Los Angeles behaviour. (See documentation here)
- Anything else you like. Settings provided here are available to the view that renders the page. (ie: the "page.hbs" file we created earlier).
The title property is an example of a custom setting used by the view. Take a look at the "page.hbs" file again and notice how it uses {{title}} to get the title string from the page's front matter. It's also used by the "layout.hbs" file that was generated for us to set the title of the page as a whole.
Adding Syntax Highlighting
As another example of how to use the custom front-matter settings, let's add support for syntax highlighting using PrismJS - a popular client side syntax highlight library.
To support this we'll let each page declare which syntax languages it needs and we'll update the layout to include the required resources for those languages.
First open the "layout.hbs" file and in the <head> section, add the following:
{{#if languages}}
    <link rel="stylesheet" type="text/css" href="https://cdnjs.cloudflare.com/ajax/libs/prism/1.16.0/themes/prism-okaidia.min.css" />
    <script src="https://cdnjs.cloudflare.com/ajax/libs/prism/1.16.0/prism.min.js"></script>
{{#each languages}}
    <script src="https://cdnjs.cloudflare.com/ajax/libs/prism/1.16.0/components/prism-{{.}}.min.js"></script>
{{/each}}
{{/if}}
To explain the above:
- The outer
{{#if}}causes the the Prism stuff to only be included if the page declares that is needs any syntax highlighting. - Inside the
{{#if}}we include the Prism theme file ("prism-okaidia.min.js") and the core Prism JavaScript module ("prism.min.js"). - An inner
{{#each}}includes the Prism JavaScript files for each of the languages that page requires.
Next, update the "index.md" file as follows. Notice a) the languages setting in the front-matter and b) the fenced code blocks at the end of the main body:
---
title: User Guide
languages:
- markup
- javascript
---
Welcome to the user guides.
* Apples
* Pears
* Bananas
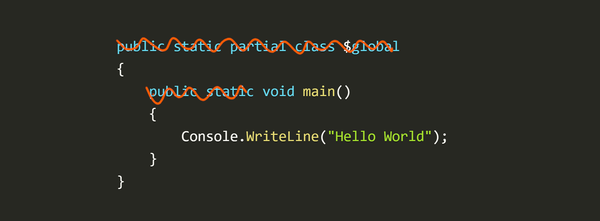
~~~markup
<p>Paragraph</p>
~~~
~~~javascript
for (let i=0; i<10; i++)
console.log(i);
~~~
Load the page in your browser again and you should see something similar to the following:

Note: the above is intended primarily as another example of how front-matter settings might be used. In practice you might not bother with this approach for syntax highlighting as it's probably easier to just always include the required Prism files in the layout... but that wasn't the point of this example.
Sharing Settings Across Multiple Pages
Often you'll have settings that you want applied to every page in a folder. Los Angeles provides an easy way to do this with a special file called ".common.page". Any settings specified in this file will be included in every other page loaded from that folder.
Continuing the above example, suppose we wanted every page in the "guides" folder to have syntax highlighting for those languages. Instead of specifying those settings in every page we can move them to .common.page.
Try this:
- Delete the
languagessection from the front-matter in "index.md". - Create a new file ".common.page" and declare the languages there.
- Add some fenced code blocks to the "gettingStarted.md" file and confirm they work as expected.
The ".common.page" file should have the front matter delimiters just like any other page. You might also like to include other common settings... a project name for example:
---
projectName: My Project Guide
languages:
  - markup
  - javascript
---
Note: when loading pages, Los Angeles looks for Markdown files with either a ".md" extension (as shown so in this post) or a ".page" extension. The common settings file however must have a ".page" extension.
Tip: common settings are also handy for navigation links. For example, check out the .common.page file for the Los Angeles help topics. (Yes, of course Los Angeles uses itself for its own documentation :).
Using Different Views for Different Pages
At the start of this walk-through, we created a special view called "page.hbs" that's used to render the final page. If you have pages with very different styling or layout you can use a different view for each page.
Just add a view setting to each page's front matter and that's the view that'll be used. In the following example, Los Angeles would render the page using the "homePageView.hbs" view.
---
title: My Page
view: homePageView
---
You can also set the layout to be used by setting layout setting in a page's front matter.
Choosing a View Engine
For this walk-through I've used Handlebars as the view engine but it should work with any capable Express view engine.
If you're after a bit more flexibility in your views you might like to check out Moe-js - a Javascript enabled, async enabled, Handlebars like view engine that I wrote specifically to work well with Los Angeles.
Wrap Up
The above is a quick introduction to getting started with Los Angeles. Check out the documentation for details on other features, like caching, image size calculations, URL redirect and rewrite rules, referenced page loading and more...
If you enjoy using Los Angeles or have any suggestions, be sure to let me know.
Voxel World Optimizations
Ever wondered how large-world voxel based games efficiently generate the mesh geometry for millions of blocks when there can be to 16 players can all be creating and destroying blocks in real-time?
Check out this article by my son Mitch where he describes the optimizations he made to their game Sector's Edge to support updating the geometry mesh nearly every frame: Voxel World Optimizations.