
First Boot
FPGABee now had enough in place that it should be able to boot. It didn't quite work though and involved a video camera to get it working...
Preparing the SD Card
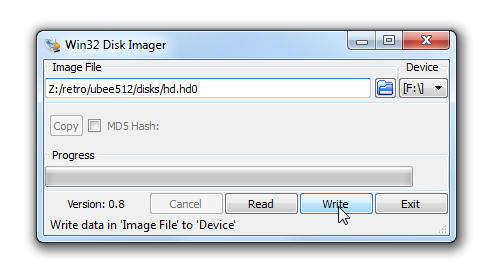
The first thing I needed to do was prepare an SD card with a hard disk image. The hard disk image I decided to use was just a copy of the .hd0 file that I always run with ubee512. As mentioned in the previous article, I'd hard coded the disk controller to expect a .hd0 image at block 0 on the SD card so all I needed was a tool to raw write the image to the SD card. I tried a number of tools before I found one that would work under Windows 7 - Win32DiskImager
No Go
Having prepped the SD card and copied the ROM for a HDD model Microbee on the Nexys-3's flash memory and fired it up and was presented with this:
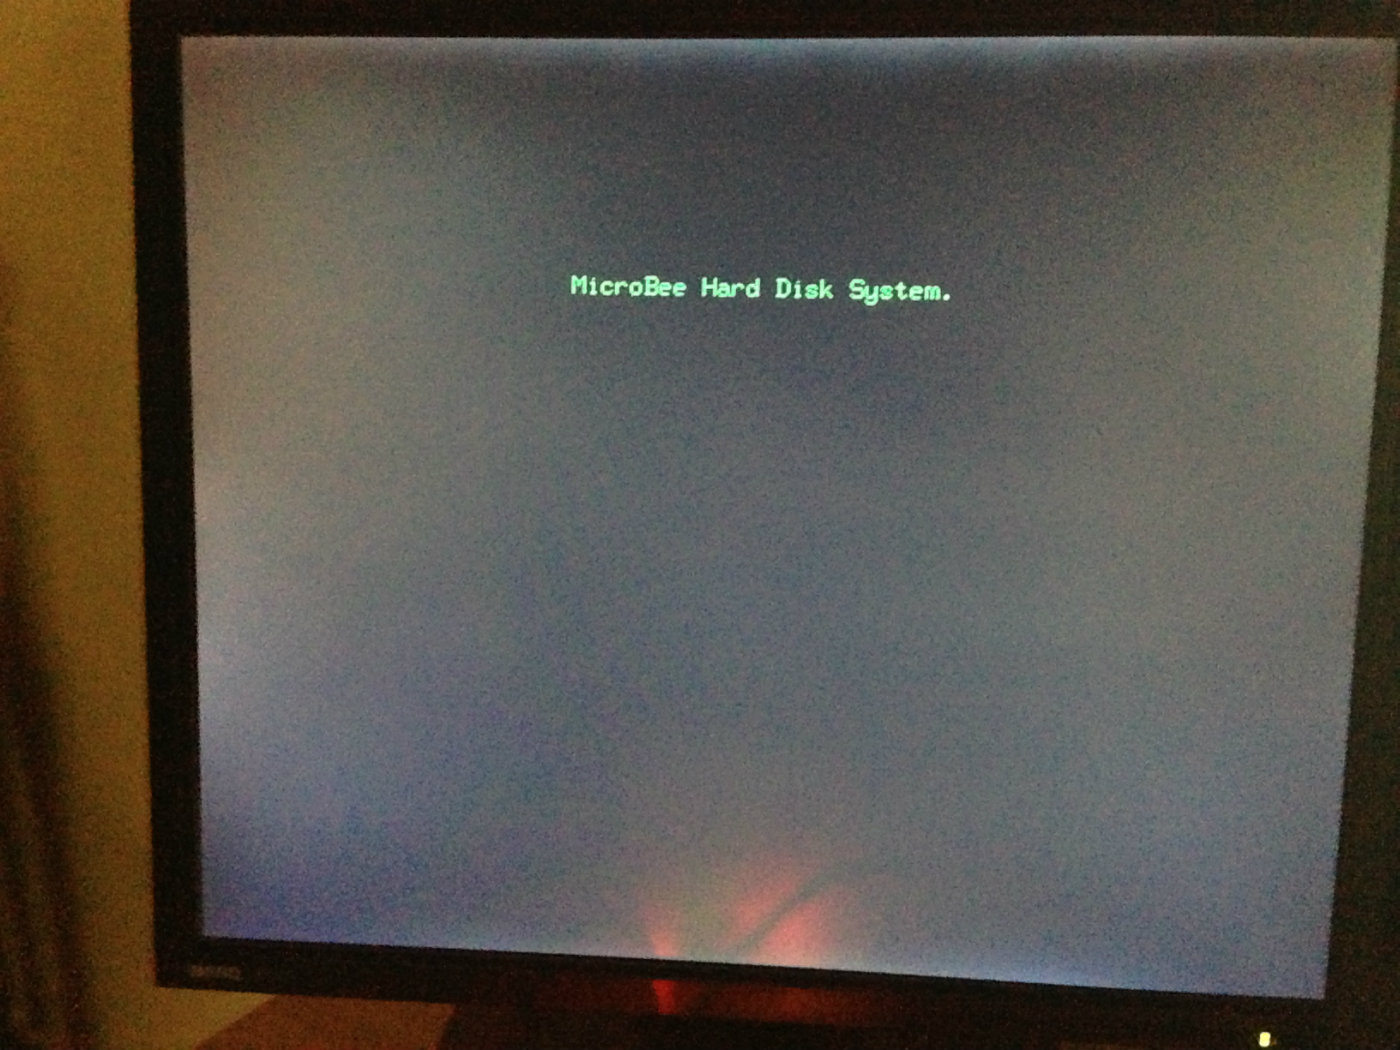
Hrm... partly working I guess, but was hoping for an A> prompt.
Debugging without a Debugger
I had a similar problem when I first tried to boot FPGABee version 1 where it locked up before presenting the prompt. In that case I found the problem by showing the current Z80 program counter (PC) address on the Nexys-3's onboard LED display and looking at what the code there was doing.
So I tried a similar thing but the address it seemed to be stuck at was not withing the ROM address range. Obviously something was failing somewhere earlier and ending up off on no-mans land.
In order to track this down I was going to need to be able to follow the startup execution and determine where it was going awry - but this is difficult with absolutely no debugger. In the ended I came up with the idea of slowing the CPU right down, displaying the address on the LED readout and videoing it with my iPhone:
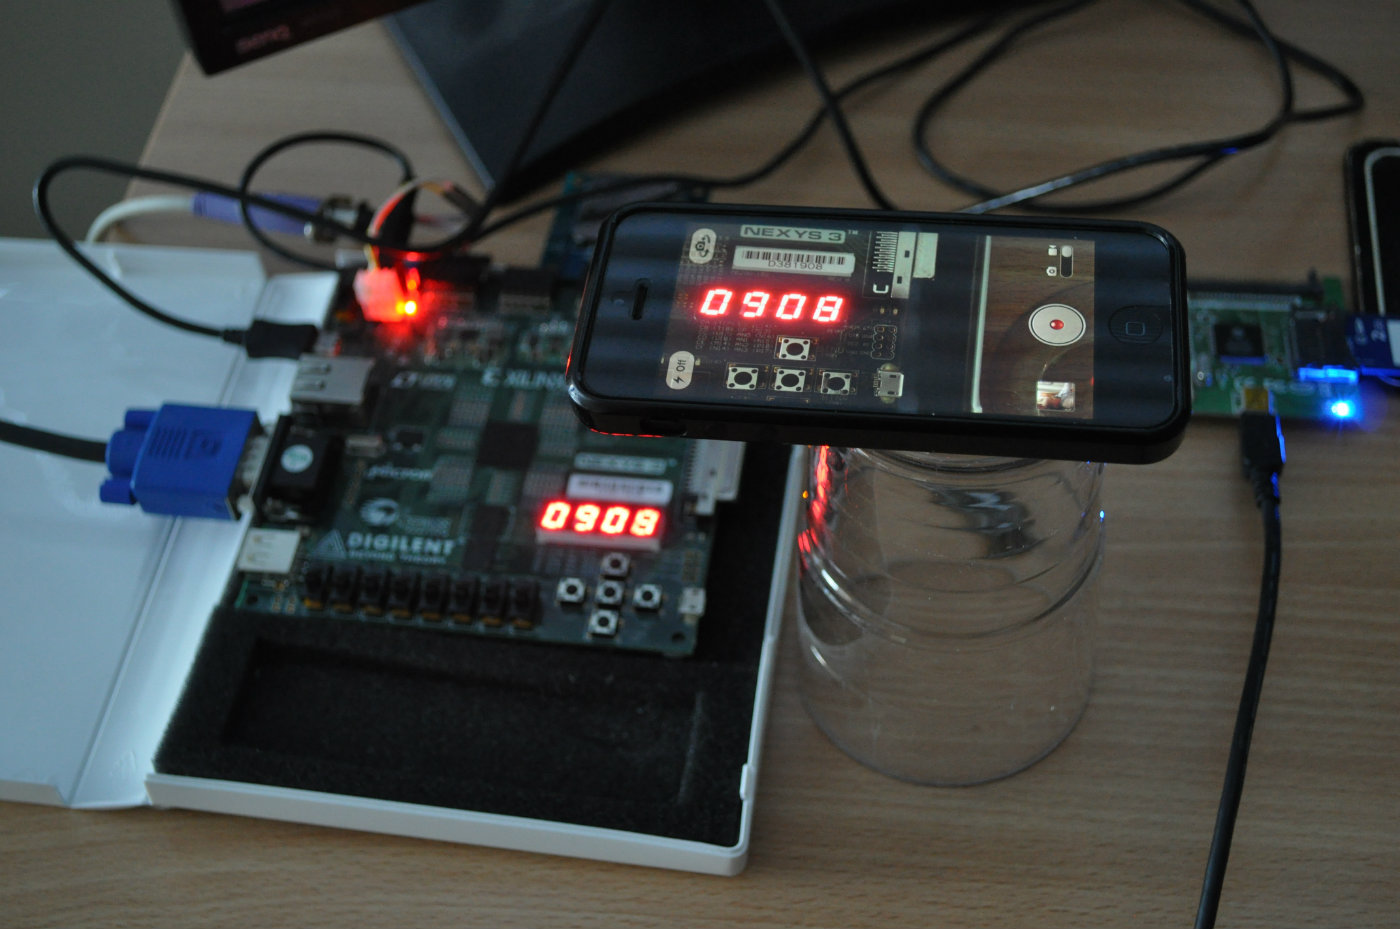
Of course the problem with the above is that it takes a long time to get anywhere. So I further updated the VHDL to only slow down once it hit a specified address. I started just after the code that displays the message I was seeing. I also played with different slow down speeds - faster to get close and then slower and slower until I narrowed into the problem code.
I took quite a few hours of debugging until I finally realized that the problem was occuring shortly after the first disk read - not surprising, although I had tested reading from disk in my test cases. The difference turned out the be that my test cases were using the regular IN instruction whereas the Microbee's boot code I noticed was using INIR - a block input command.
After updating my test harness to use the INIR instruction I quickly realized that blocks simply weren't getting read correctly.
A Broken CPU Core
My first suspicion in all of this was that there was something wrong with the disk controller such that it could handle regular IN instructions but not INIR.
So, a I spent a few hours reviewing code, inserting debug code to read blocks to the screen (at least with a test harness I could insert debug code - not so easy with the actual boot ROM) but nothing seemed to be working. Instead of a full 512 block being read it looked like only the first byte was getting read in - but it wasn't ending up with the actual first byte from the SD block. Very weird.
Then just on the off chance, I Googled for "T80 core inir":

Doh - a bug in the CPU core! Turns out the T80 core was failing to increment the HL register after reading each byte - causing all bytes to be written to the one location. I tried upgrading to the latest T80 core but that seemed to have some problems with other I/O operations so in the interest of just getting this running I applied the fix for this particular bug and... presto! It booted up:
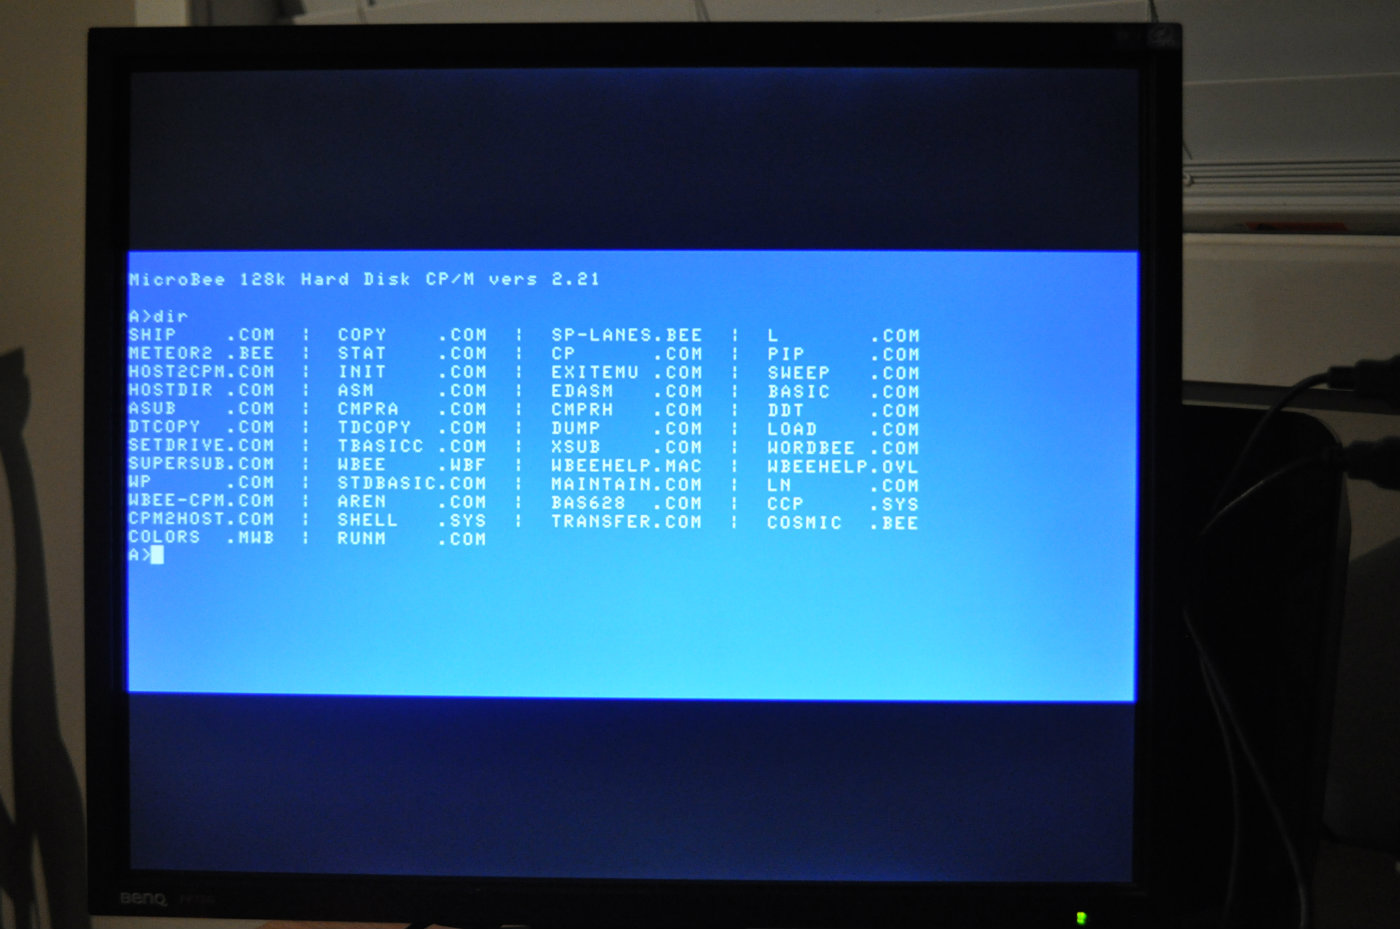
A few quick tests and it seemed to be working remarkably well. Basic file operations (read and write) all seemed to be working, the various display modes looked good, I could launch basic and run a simple program, the Scott Adams adventure engine that I ported worked. A good start, but there were a couple of subtle bugs that I'll talk about in the next article.